Get Started
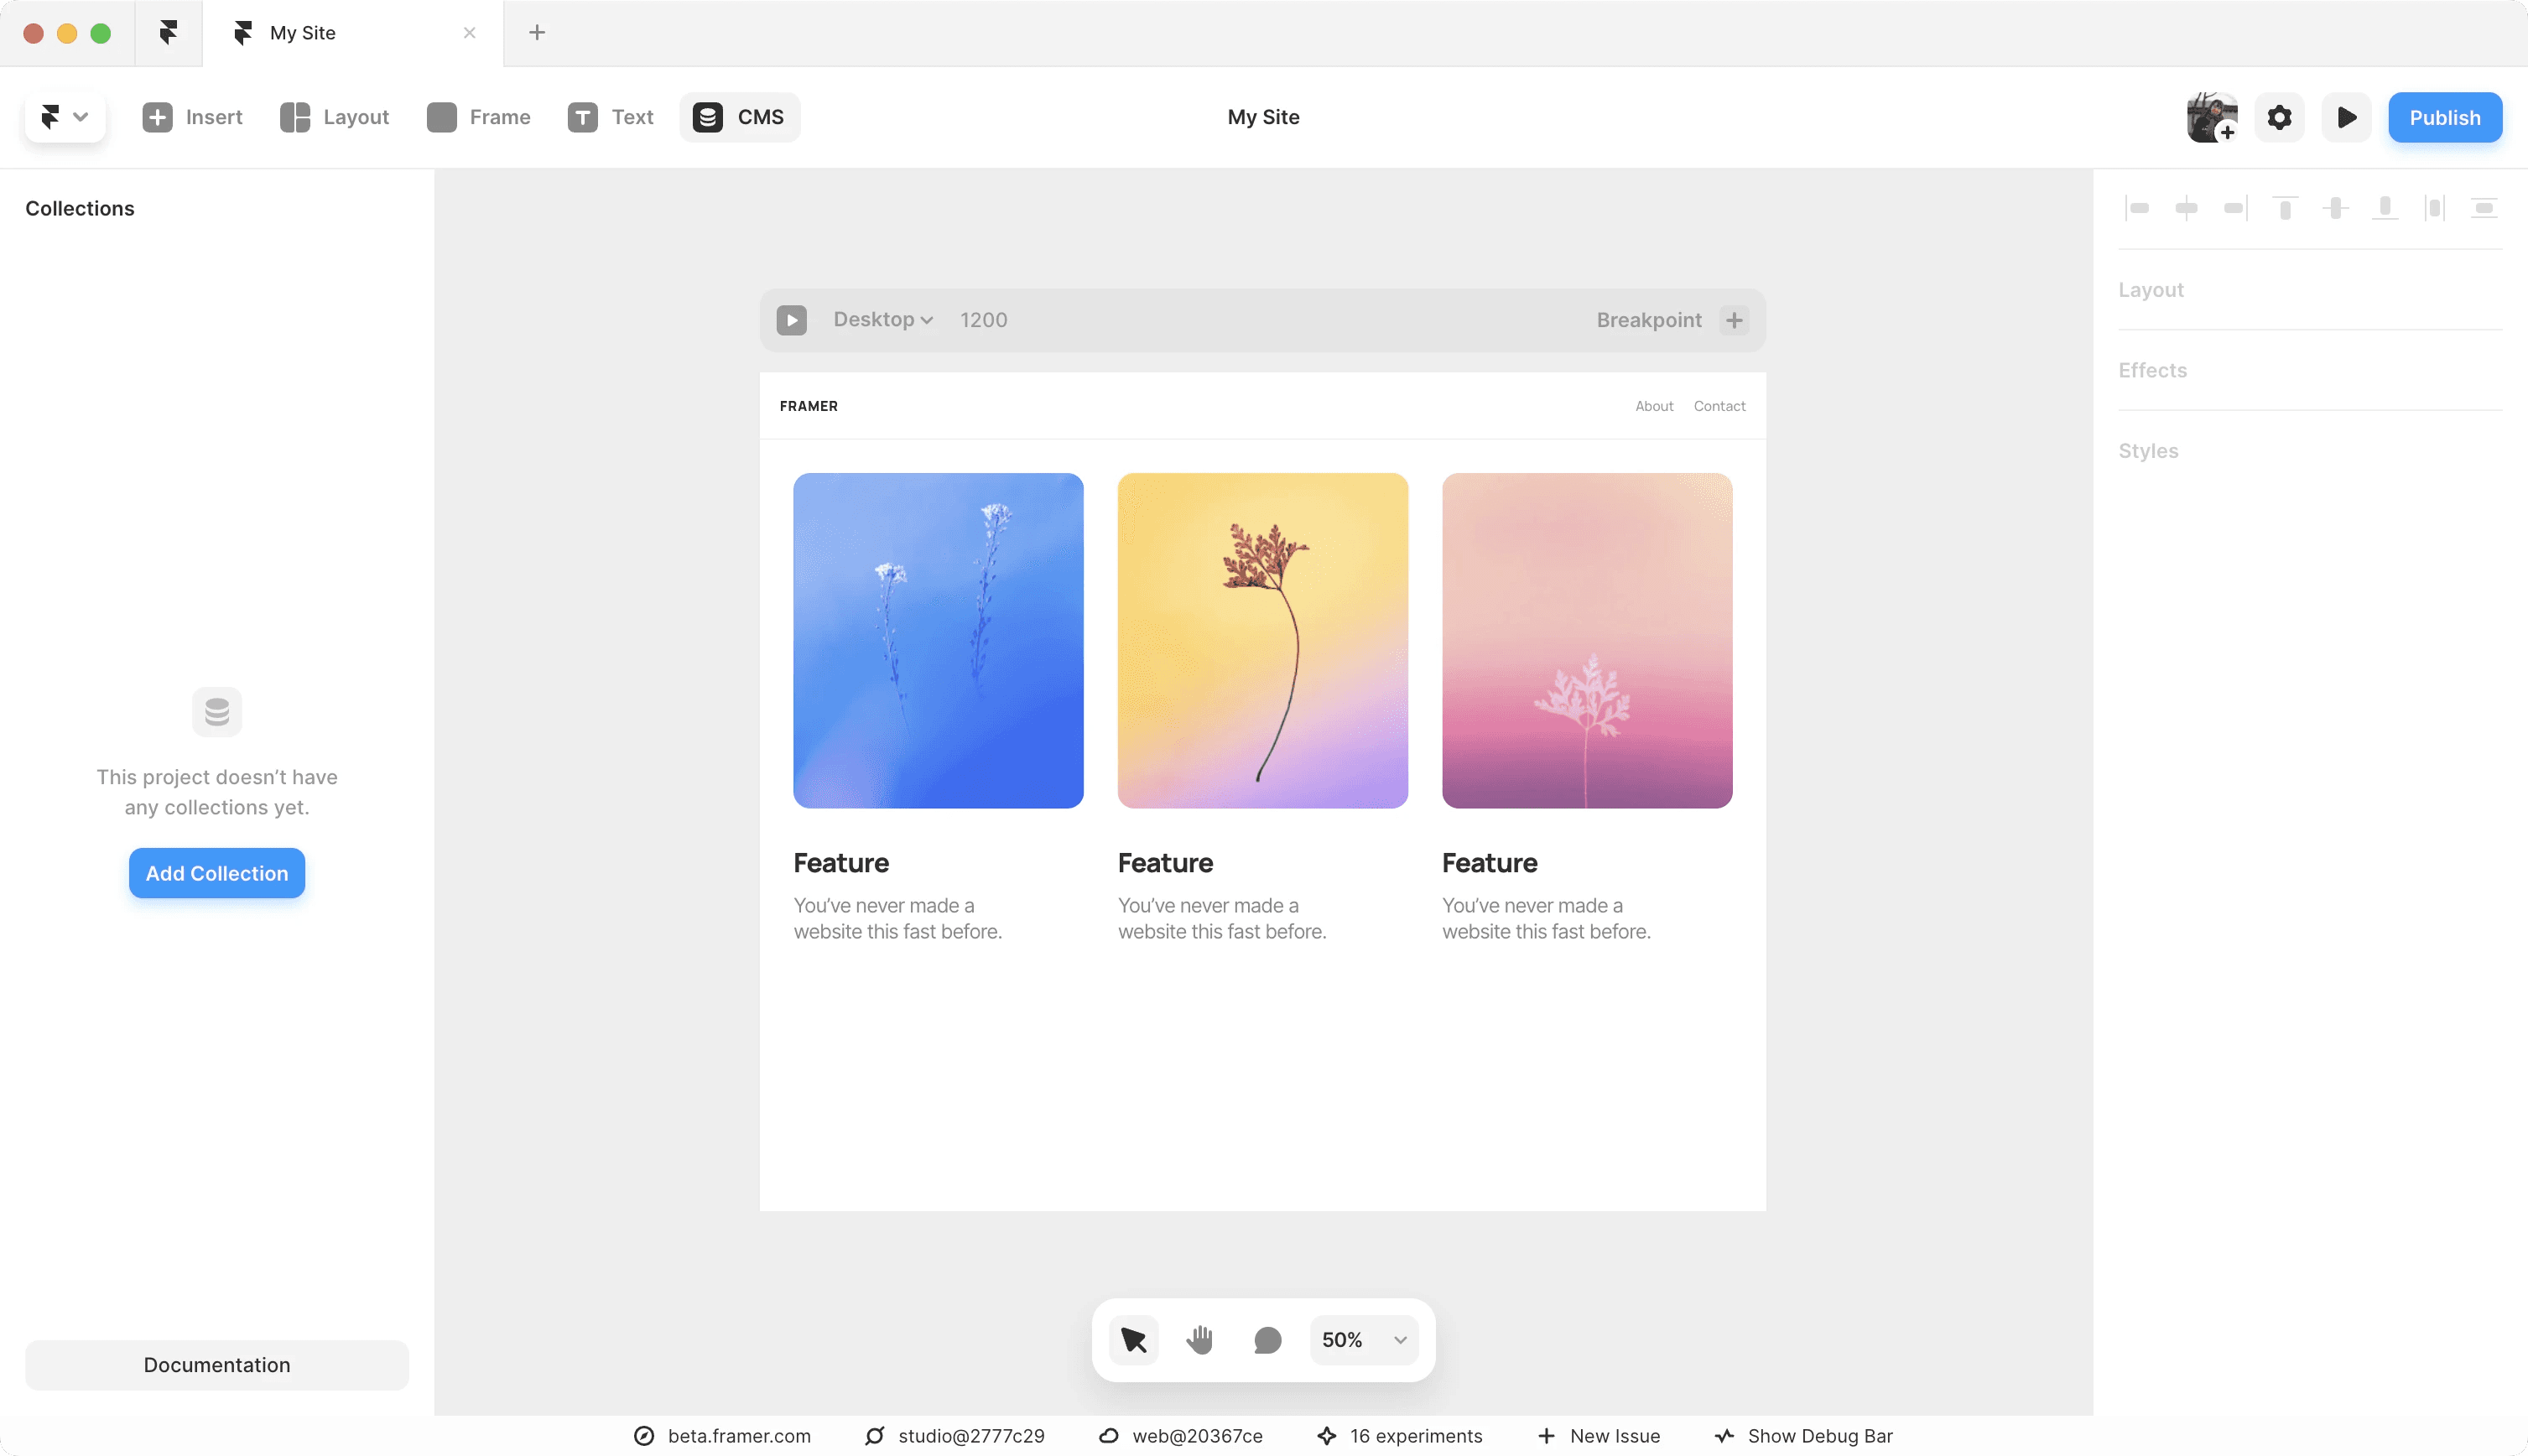
You can access the Framer CMS by clicking on the CMS button in the Toolbar. Then, from the left panel, you can choose to either begin with sample data for a blog, or create a new Collection from scratch.

Add and Edit CMS Items
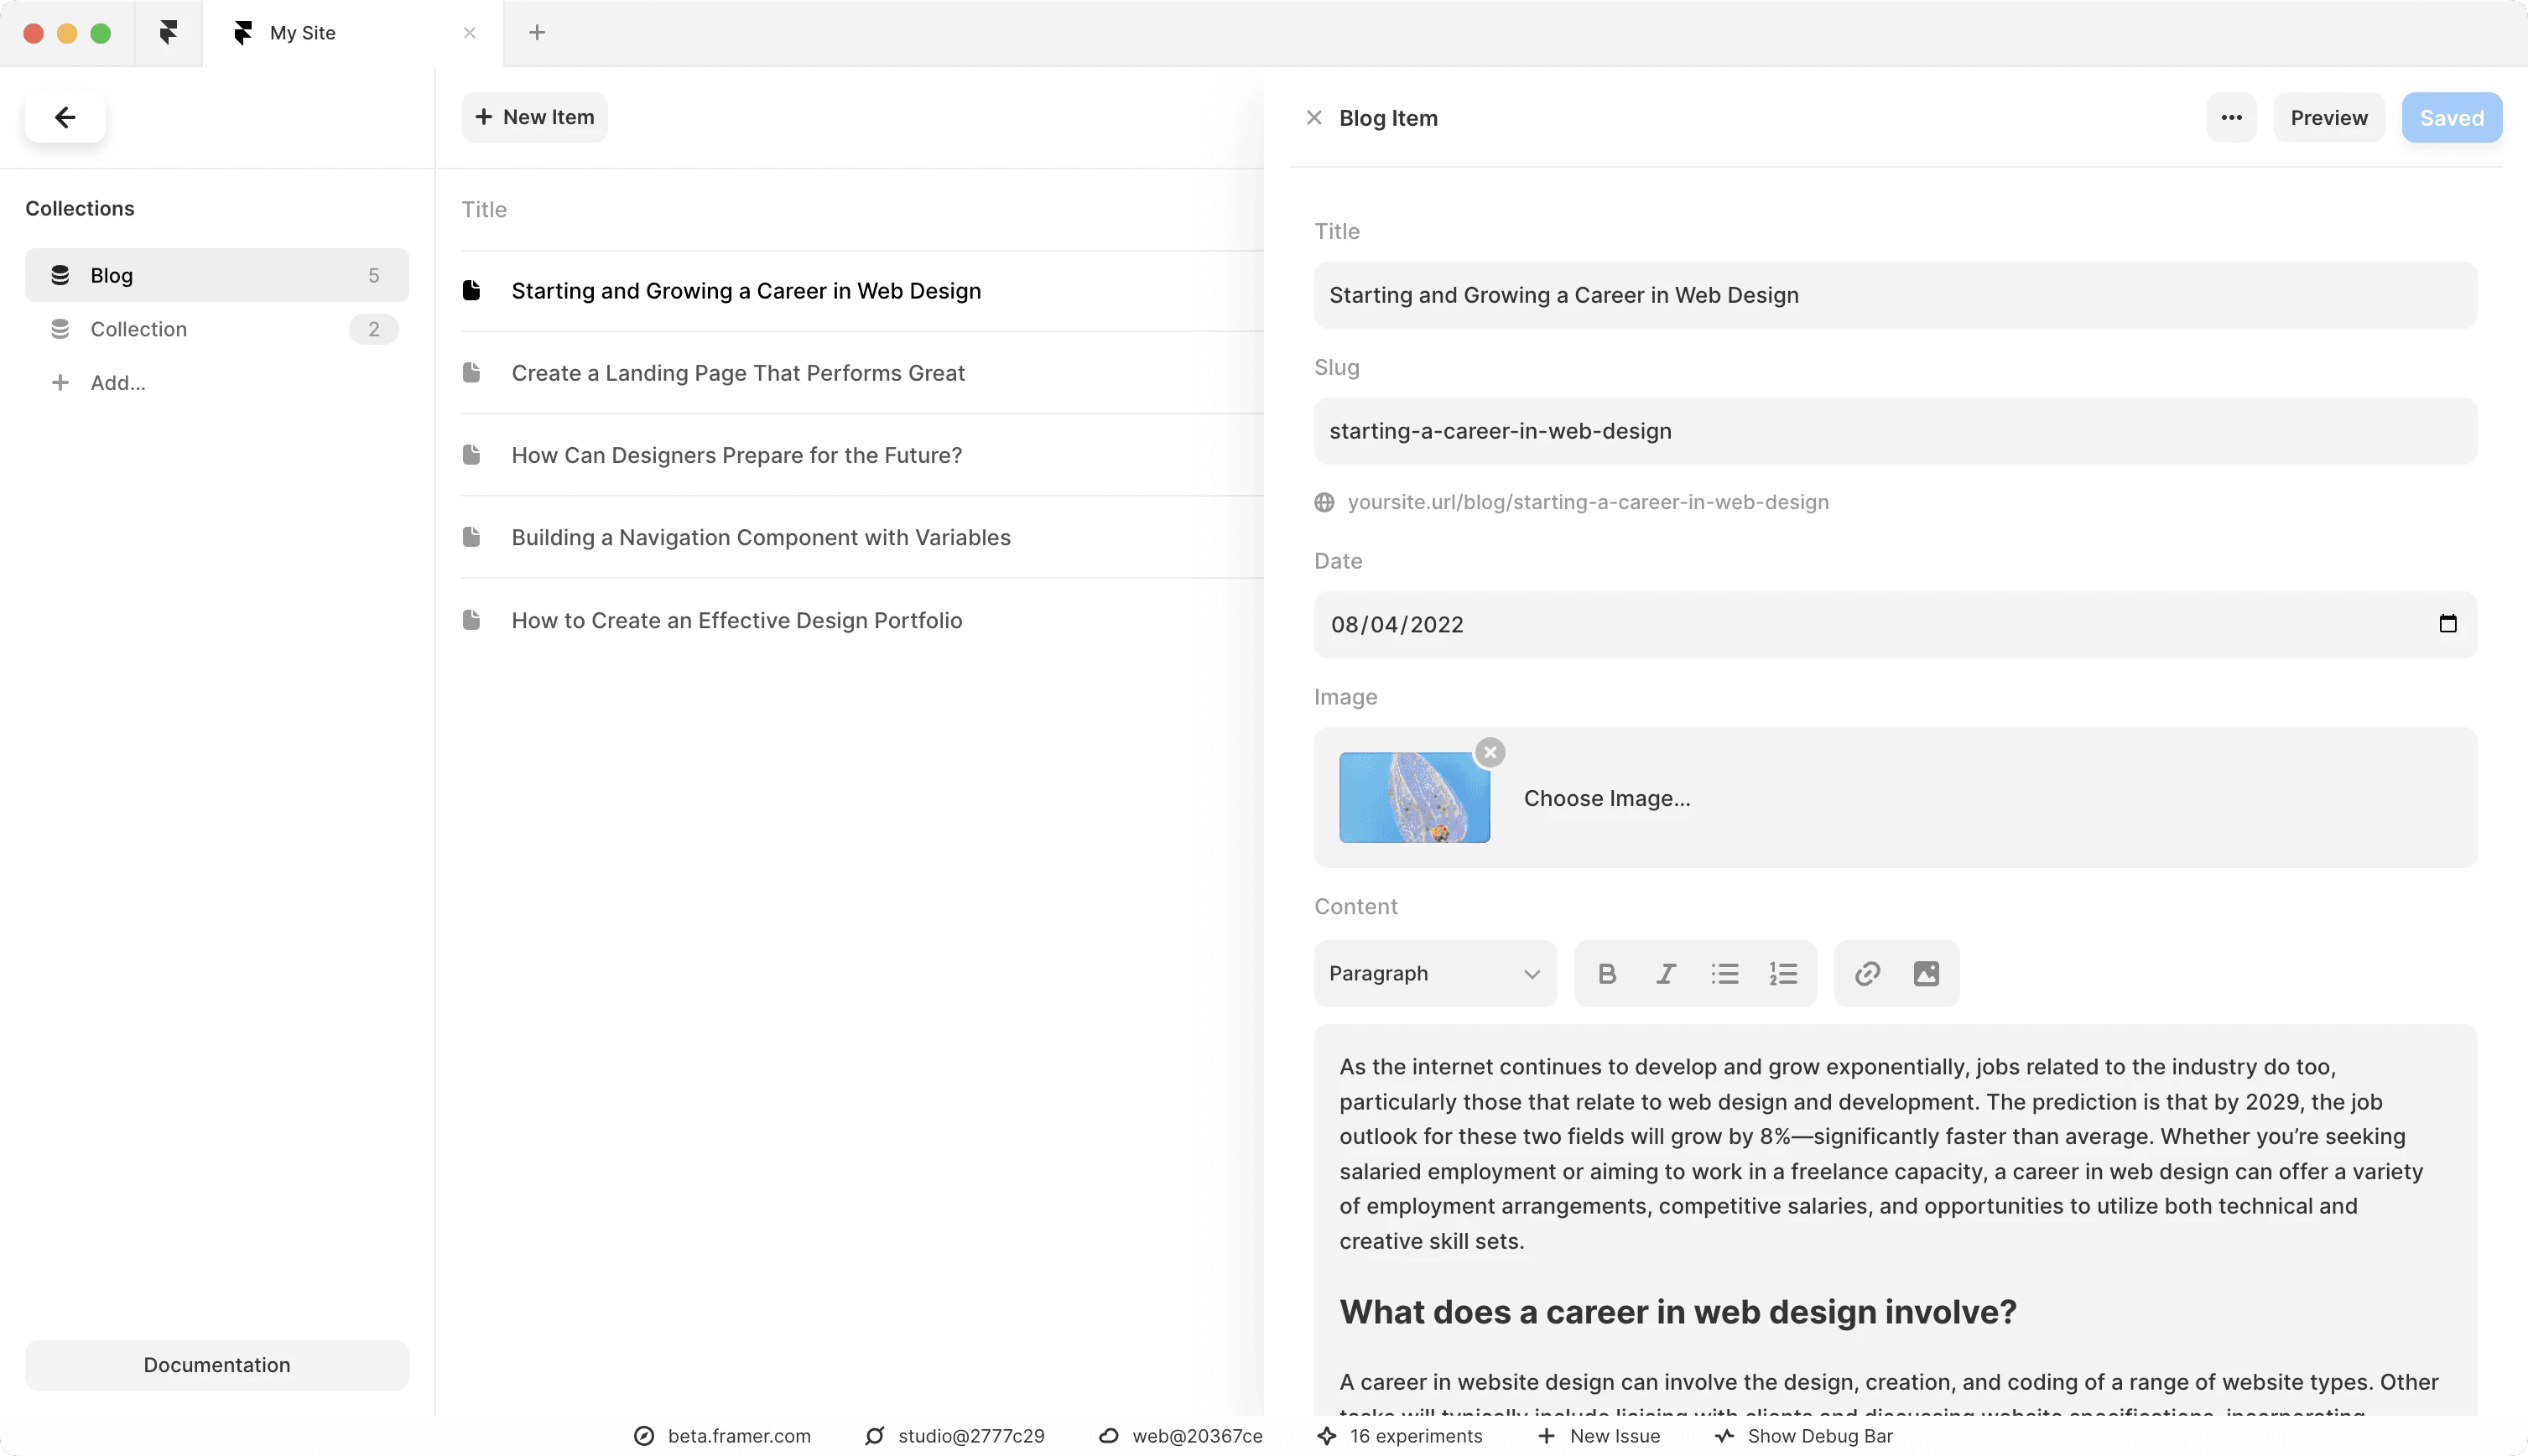
Once a Collection is created, you can add or edit the content for individual Items within the Collection. If you selected to begin with the sample data, you will see that a few example blog posts have already been created for you. Click on each item to edit the content.

Edit the Input Fields
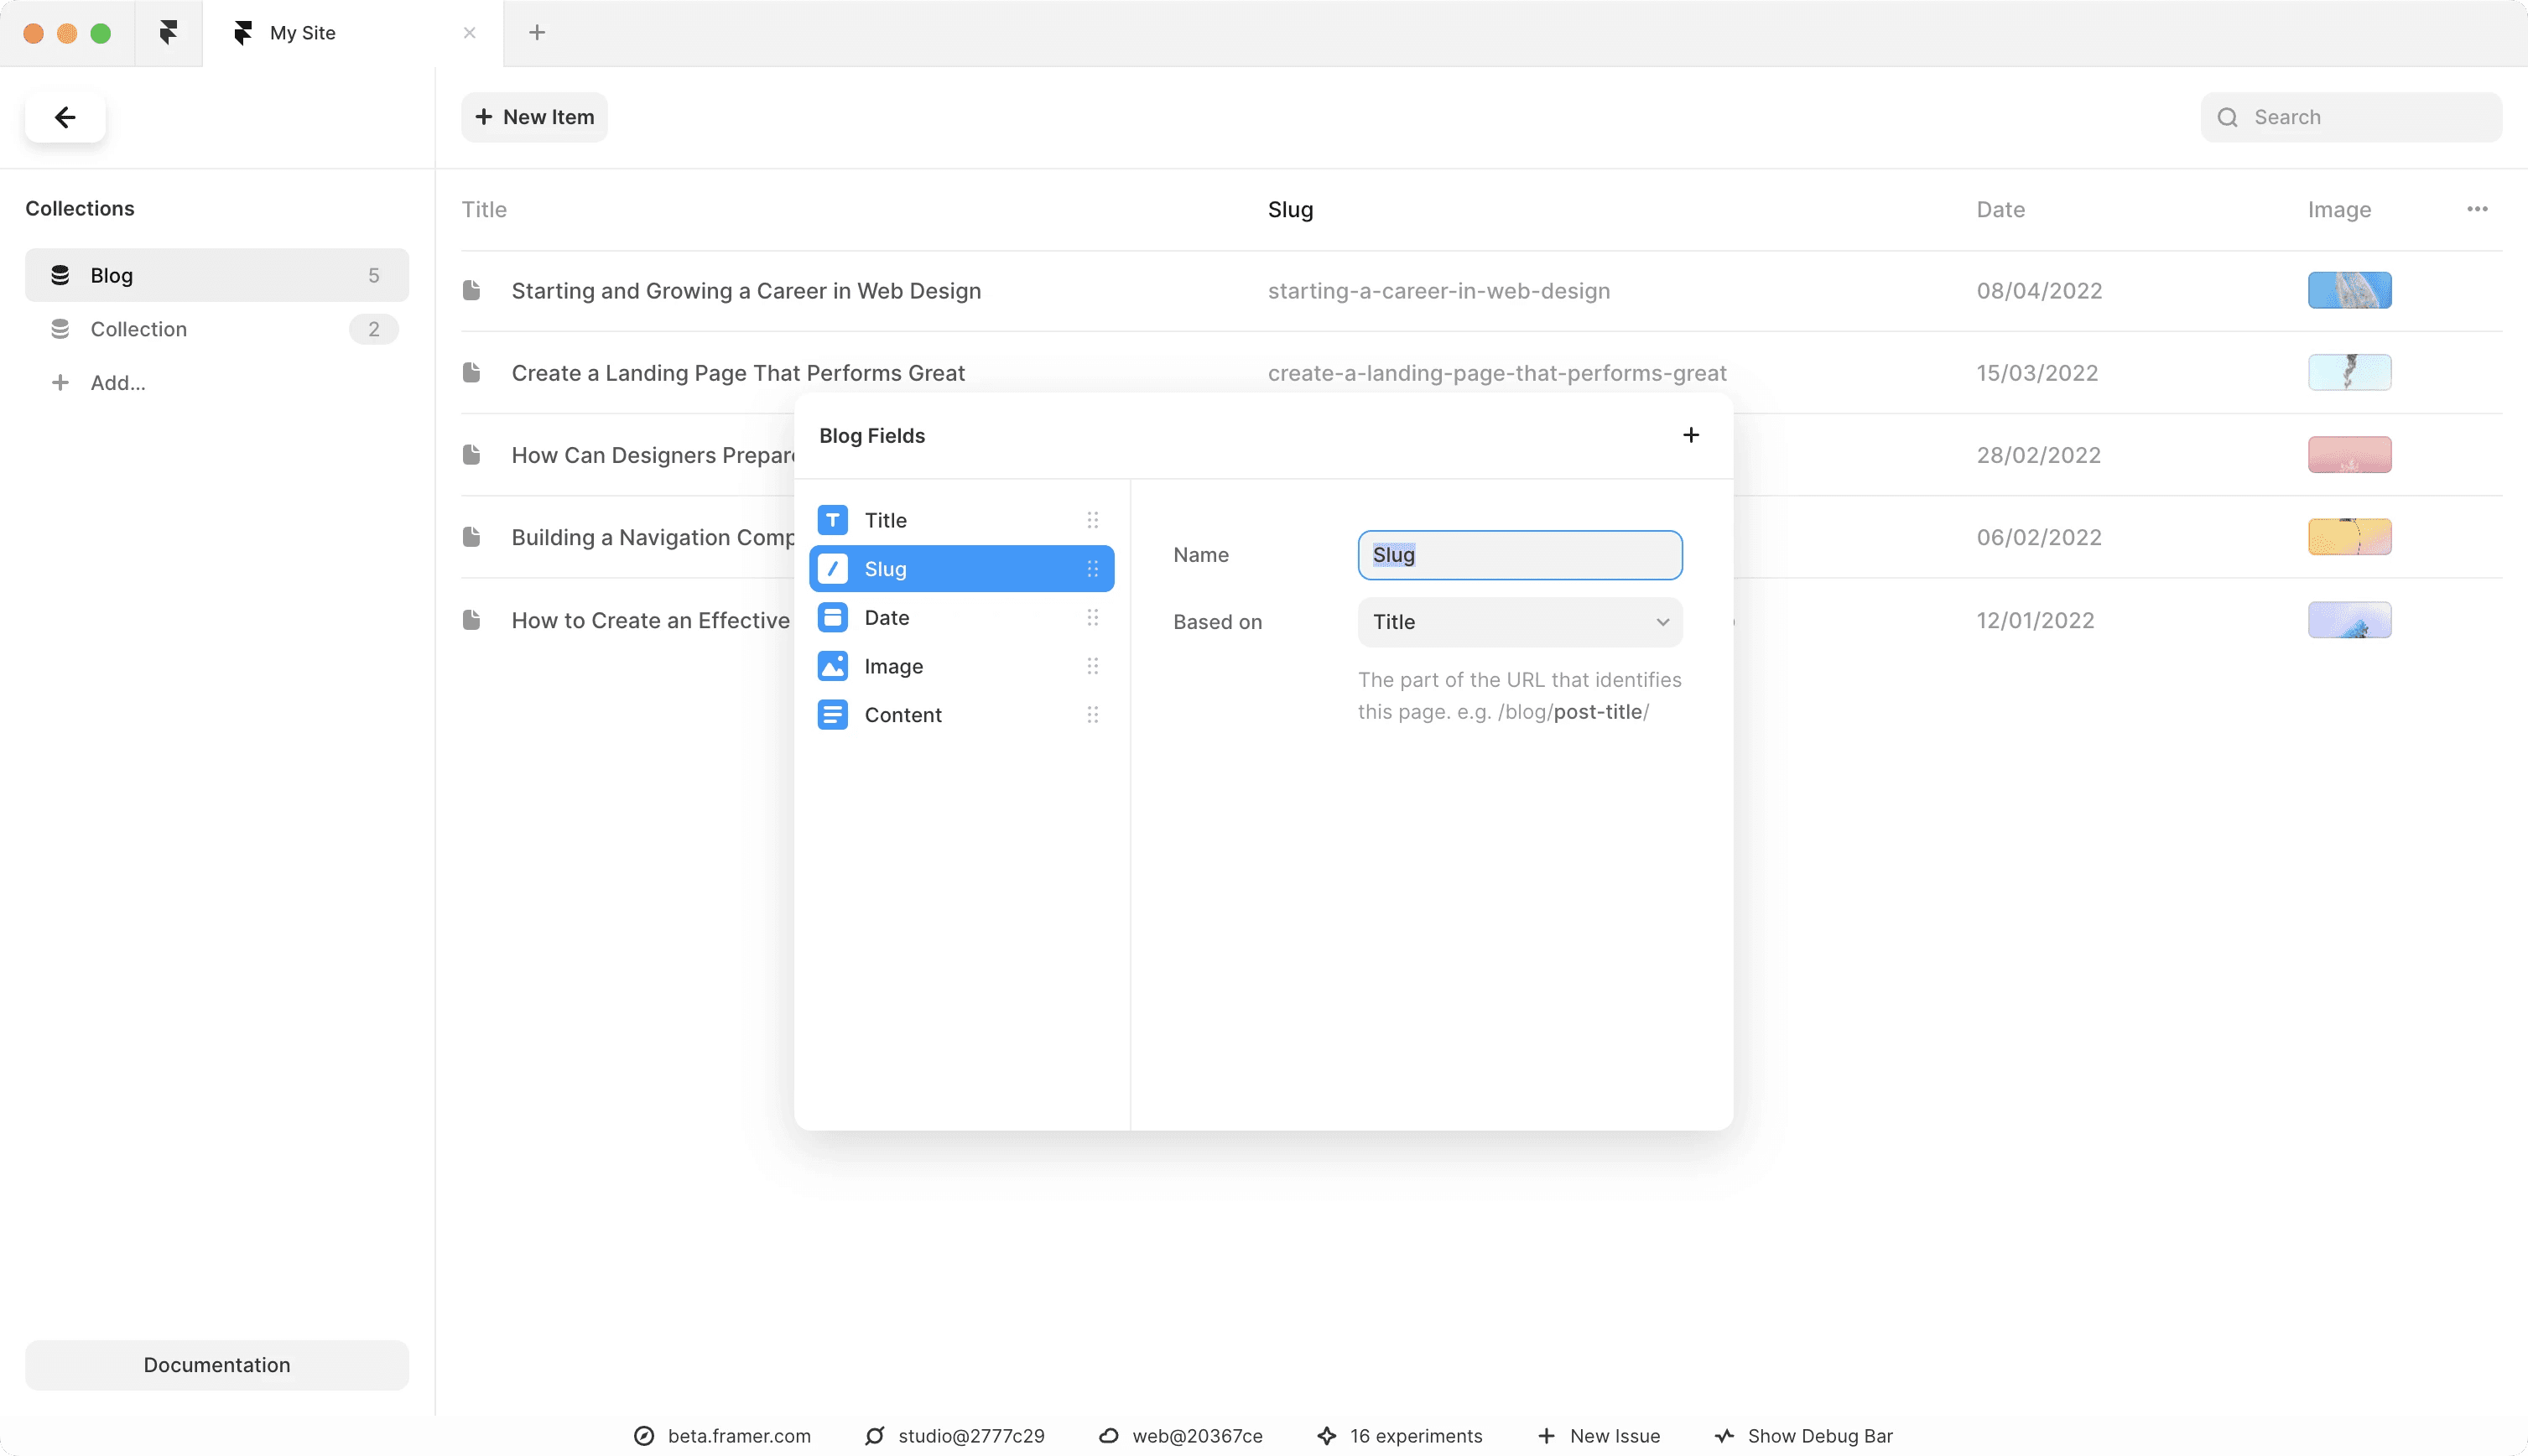
You can choose to set up different types of input fields depending on your content. For instance, a blog might have a title, a slug, and a long-form field for formatted content. These may be different for a product directory or a photo blog, where you may need to add an image field. To edit the fields each CMS item will have, click on any of the column titles. This will trigger a modal to add new fields, where you can also re-arrange the fields or modify or delete the existing ones.

Add Content to the Canvas
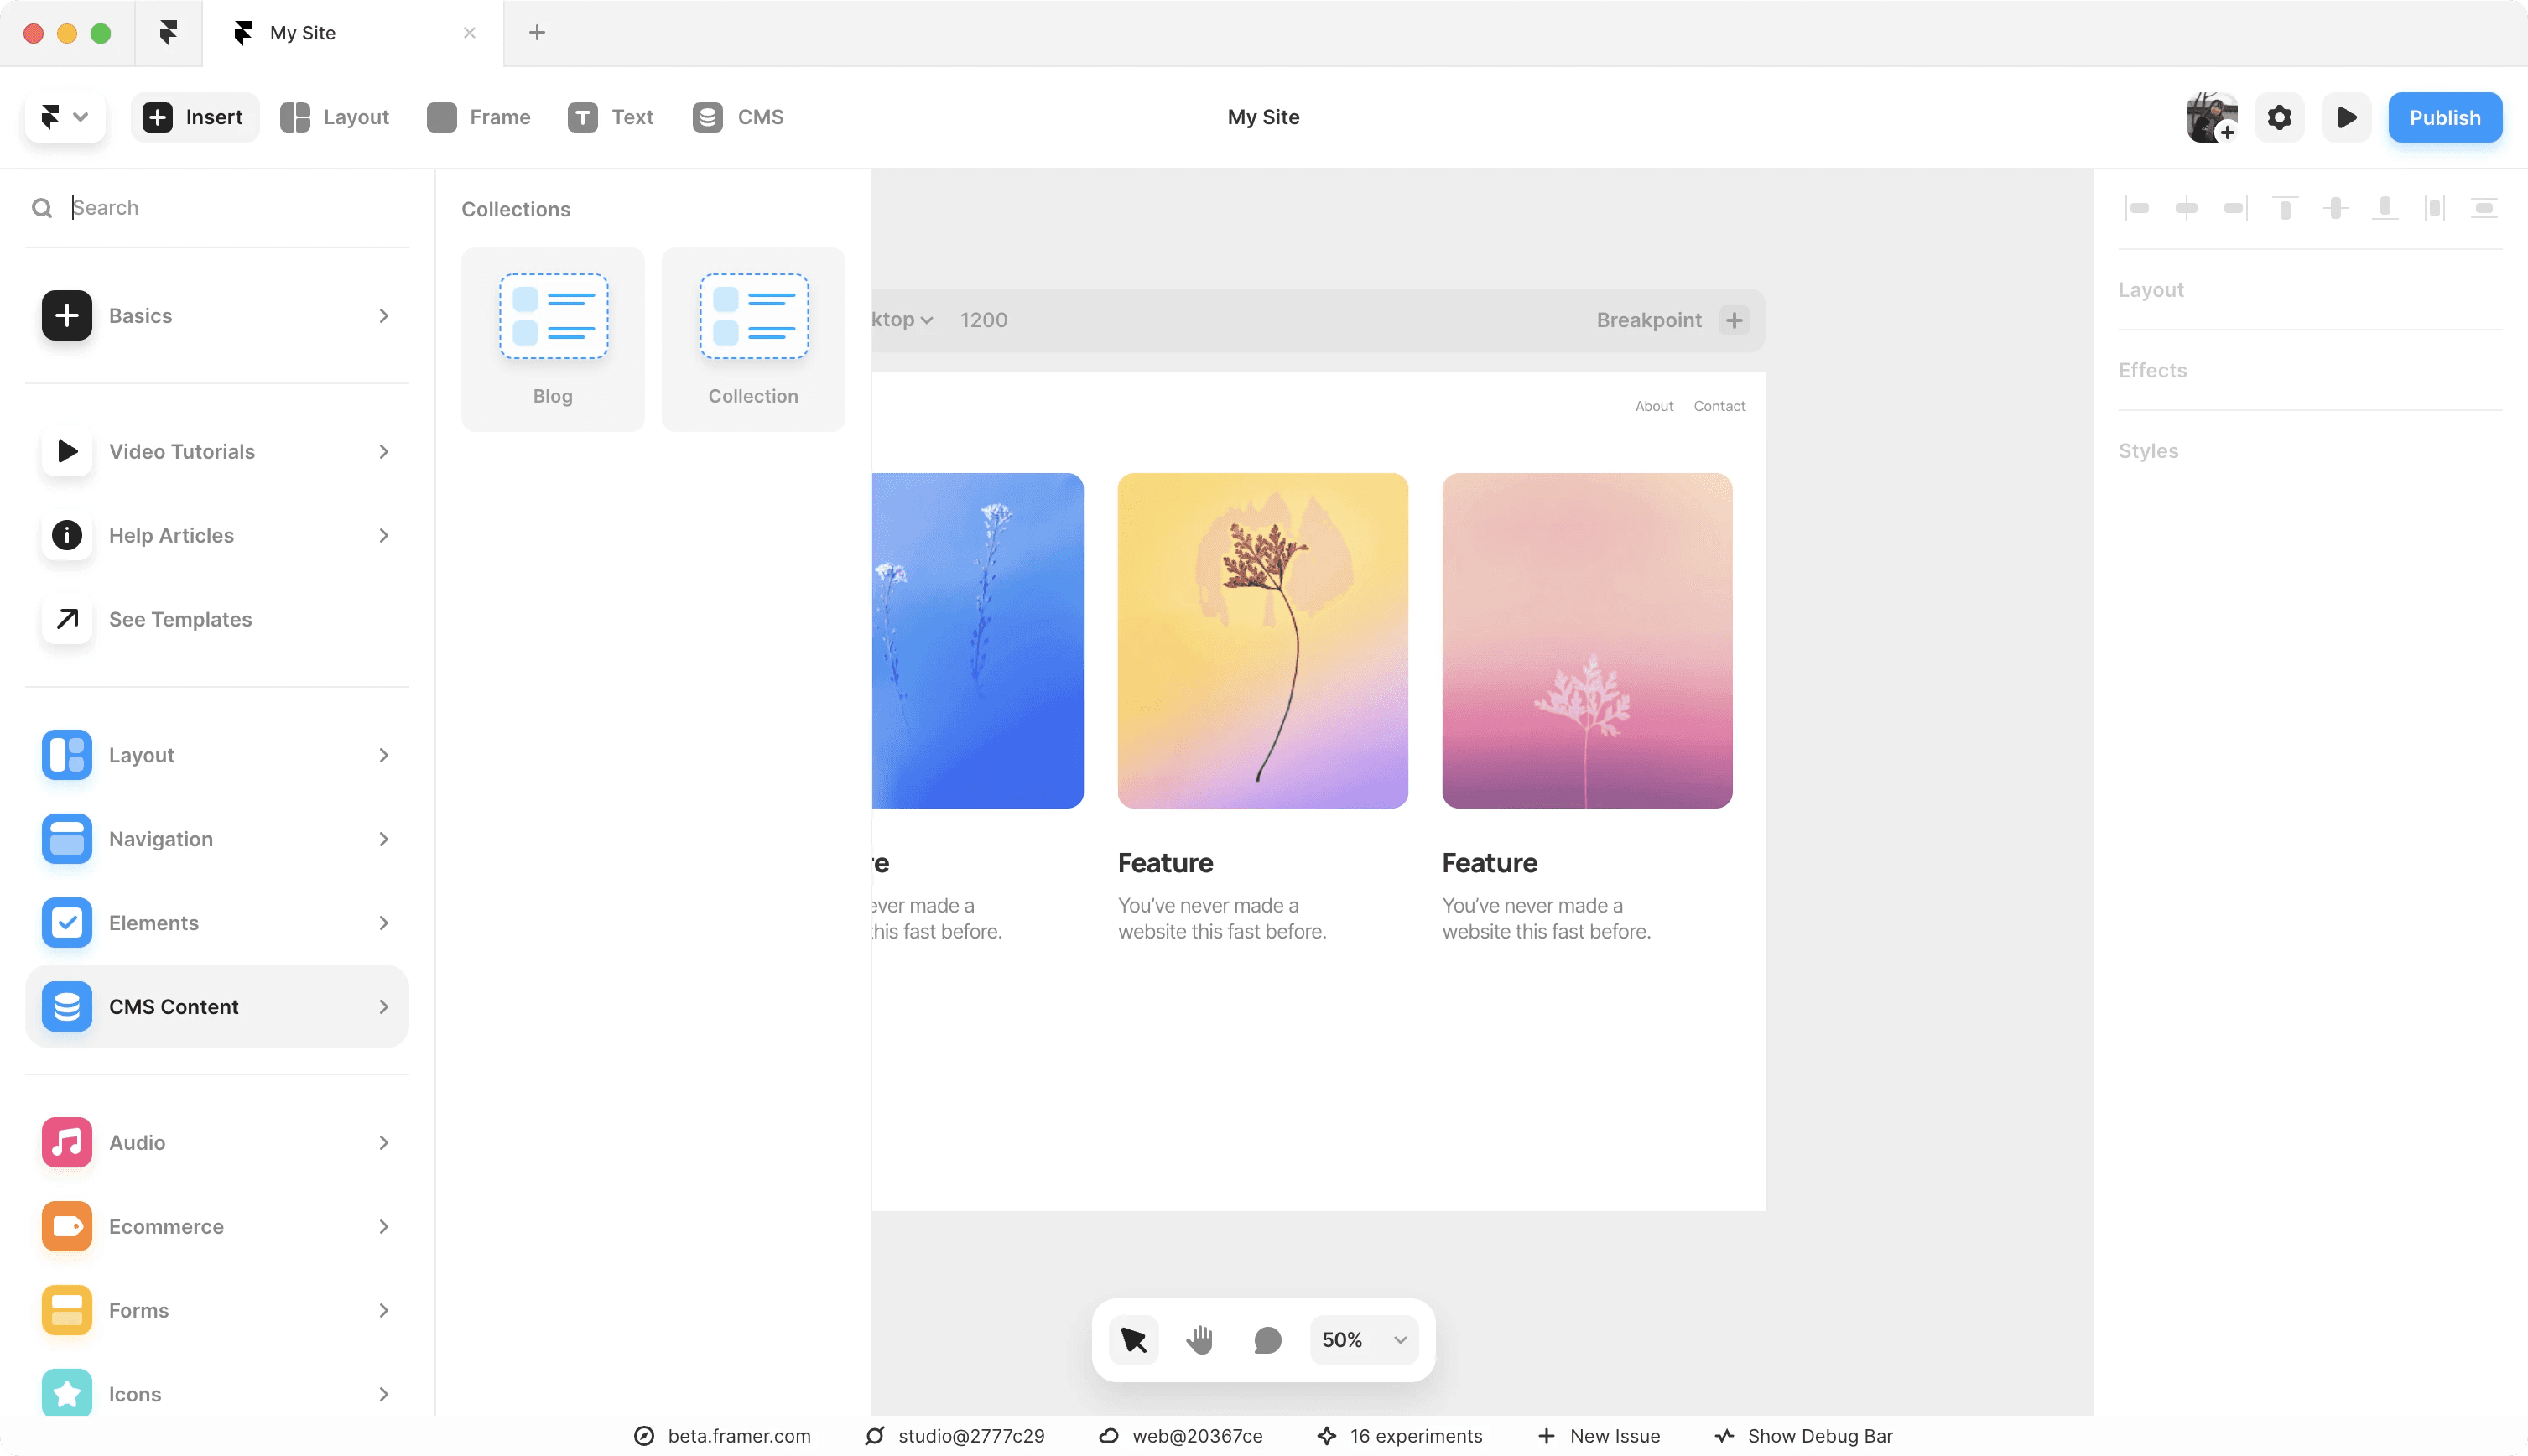
After setting up the content, go back to the canvas. Your collection will now be accessible from the Insert menu. Open the Insert menu, navigate to the CMS Content section, and drag and drop your collection onto the canvas. This will add a special stack with layers connected to your data. From here, you can edit the visual properties on the right, just as you would do with a regular Stack.

Add a Page with Content
If you wish to add a page instead that will automatically be populated with data from the CMS, navigate to the left panel. One you are in the Pages tab, click on the + button next to the CMS section. If you add the Index page, a page will be added with a list of all of the items in your collection. If you add the Detail page, you will be presented with a page with content from your individual items.
Note: If you chose to add the sample data, a new detail page called /blog will be added to your website, and you will find the stack of content added into the page for you.

The detail page will display content pulled from the first entry of the collection by default. In order to preview other items in the collection, change the content by selecting a different item from the dropdown menu.

Link an Article
Once you have your collections and items set up, you should be able to find the pages via the dropdown in the link property. Simply select the item of your choice to link a layer to the specific page.


